Hello!! It’s good to be back 🙂
I’ve had a few very busy months, but among other things, we finally made it to Canada to visit my sister! What a wonderful trip, amazing country and wonderful family reunion it was, really the holiday of a life-time for us! I will share some photos soon.
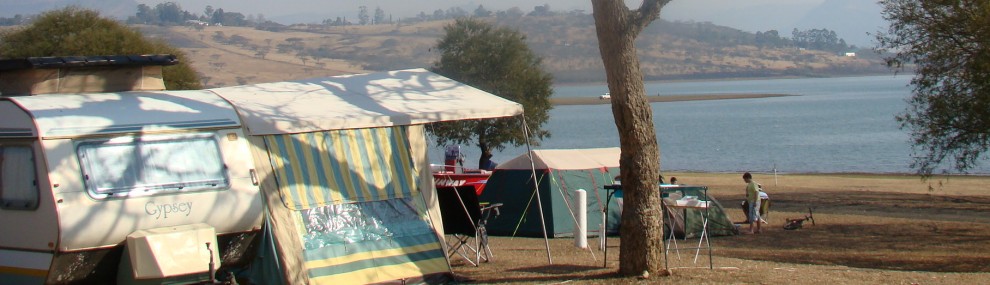
Today, though, I’m sharing a recipe to make before you go camping – the nicest, easiest recipe for Healthy Rusks, which make the best breakfast when camping.
Imagine sitting around your early morning camp fire, watching the day come to life, with a cup of freshly brewed coffee in your hand. Now make that image even better and think of having one of these rusks to dunk in that coffee!
Oh my – now I’ve set off a dual craving in me – for camping AND rusks with coffee!!
Rusks are usually hard work – these are not. They are stirred together, baked in a large pan, sliced into ‘fingers’ and dried out. Couldn’t be easier, people!!
But enough chat – on to the recipe:

Making Healthy Rusks ~ Fired Up Cooking SA 2014
Healthy Rusks
Ingredients
- 4 cups of whole wheat flour
- 2 cups of self-raising flour
- 2 cups of brown sugar (I like to use 1 cup dark, and 1 cup light)
- 3 cups of bran flakes
- 1 cup of rolled oats
- 1/2 cup coconut
- 1 cup of nuts – your choice, try mixed or even roasted peanuts
- 1/2 mixed seeds – sunflower, pumpkin, sesame, poppy, again, your choice
- 1 cup of dried fruit – raisins, or fruit cake mix, or chopped dried apricots, or even dried cranberries
- 1 teaspoon salt
- 2 teaspoons bicarbonate of soda
- 250 grams of butter, melted
- 500 mls buttermilk or plain yoghurt
- milk, if needed
Method
- Mix all the dry ingredients together in a large bowl
- Stir in the melted butter, blending well
- Add the buttermilk/yoghurt and mix very well to make a soft dough
- If the mix seems dry, add a little milk
- Keep mixing to make sure there are no dry patches of flour
- Tip the whole mixture into a well-greased deep-sided baking tray (I use my oven’s grill tray)
- Bake at 180⁰C until golden brown and skewer inserted into the rusks comes out clean
- Remove rom the oven and allow to cool a little
- Turn out onto a cooling rack, and allow to cool completely
- Slice into fingers (as in my photo), or how ever you wish – just make them a good shape for dunking!
- Lay the rusks out onto large baking sheets, leaving a gap between each one for air to circulate
- Place the trays in a cool oven and prop the door open slightly with a tea towel
- Dry out for several hours, or overnight, until the rusks are crisp and dry
- Turn off the heat and leave the rusks to cool in the oven
- Pack the cold rusks into air tight containers
- Make some coffee and
- Enjoy!!
I can’t claim this recipe as entirely my own, but I’ve tweaked it so much over the years that it feels like mine. Sadly, I have no record of the blog it originally came from, so can’t even pass on credit. If it seems familiar to you, let me know!
Til next time, happy camping…


It’s good to see you again, I am looking forward to your Canada photos.
Thanks for the recipe, we take along home made rusks for camping, so it’s great to have a new recipe.
LikeLike
Hello Tok, thanks for stopping by! I fell in love with Canada – what an incredible country! Enjoy the rusks 🙂
LikeLiked by 1 person
Hello there, please help. We need your recipe for your Melva Pudding. It’s not on you page anymore. Keep up the good work Regards Gordon
Gordon Neubert
LikeLike
Hello Gordon, the recipe is still there – here’s the link to it
Hope that helps! Thanks for your comment 🙂
LikeLike
How lovely to see your post Linda. Your rusks look great. Will definitely give these a try when I next bake rusks.
Have a lovely day.
🙂 Mandy xo
LikeLike
Hello Mandy! Thank you and how lovely to hear from you 🙂 You have a wonderful day too xx
LikeLike